Back to Showcase Page
Planetary Shader (Atmospheric Scattering)
This is a three pass approach adopted from the GPU Gems 2 article "Accurate Atmospheric Scattering" by Sean O'Neil. I will describe my process and show each stage, and the resulting composited image. For some background, this was implemented as an exercise in creating a complex multi-pass effect for my graphics engine (Tesla Graphics Engine) and is one of the examples that will be released with the engine software. Source code for this effect can be downloaded below, it's written in HLSL and targets shader model 4.0 (DirectX10).
Note: O'Neil's GPU Gems article has source code for real-time atmospheric scattering from space as well as the ground. This implementation just uses the versions from space.
Overview
My first steps were to implement Sean O'Neil's example from GPU Gems. His effect is done in two passes, first the atmospheric scattering of the light rays done at ground level, then the sky (which gives us the halo effect). The halo effect is done by rendering the sphere slightly larger, and inverting it (e.g. set to cull front faces, not back faces).
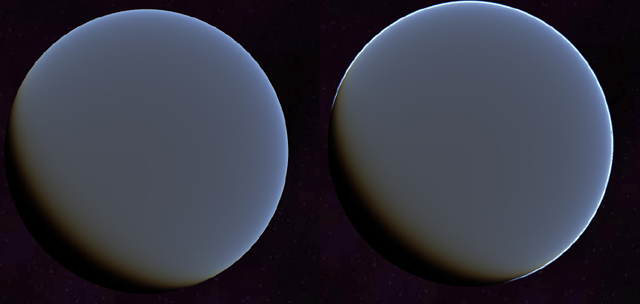
I extended this process to include a third pass, a cloud layer, which is rendered last. The image below shows the bare-bones O'Neil implementation which is just the ground-level scattering and the halo effect (left and right images respectively), which is very similar to the demo in the GPu Gems book.
Ground Pass (First Pass)
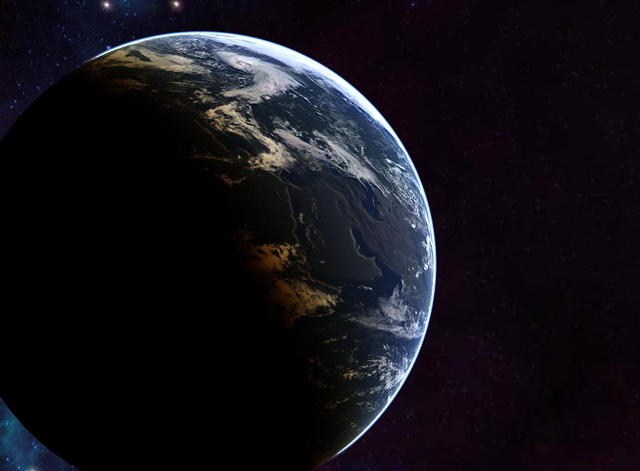
The first pass, atmospheric scattering at the ground level is where most of the additional implementation work went into. In addition to the scattering effect, I implemented a phong illumination lighting model with normal mapping to give the surface added depth. This shader code was taken from my engine's shader library I wrote (which includes lighting methods and structures in a .fxh file and a normal map shader, so the basic lightning utilities are designed for this kind of reuse anyways). Per-material properties such as specularity are available, as well as optional specular-mapping to control the specularity. This is useful for making the oceans of the planet shiny, although I don't really use it in this example.
In order to give the cloud layer added depth, I use the cloud texture to project shadows onto the planet surface. Using a height variable and the dot product between the normal/light direction, the shadow will get longer and be more offsetted closer to the terminator, rather than directly below the clouds themselves.
Finally, for the dark side of the planet, I blend in a city lights texture to give the impression of illumination coming from the surface.
Sky/Halo Pass (Second Pass)
The halo pass was relatively straight forward and did not differ much from O'Neil's implementation. It's rendered using a slightly larger sphere than the one for the ground pass (actually, it's the same sphere, but I use the vertex normals to enlarge it slightly).
Cloud Pass (Third Pass)
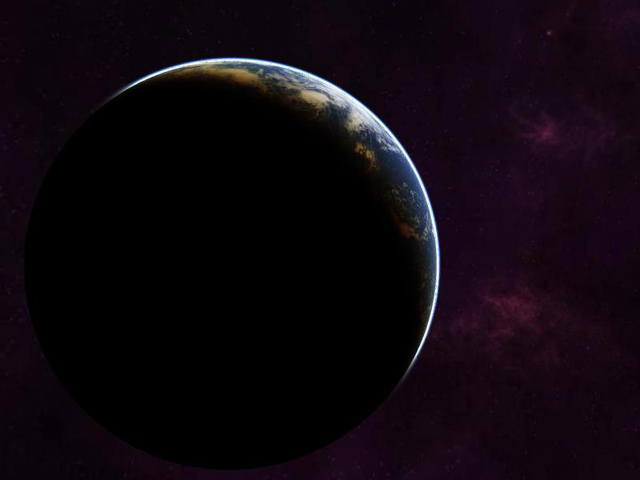
The cloud pass is the simplest (at least for the pixel-shader), it's rendered with a sphere that is larger than the surface, but smaller than the sky and I apply the atmospheric scattering effect with the cloud texture. The clouds are faintly visible on the dark side of the planet, using some "fudge factors" (which are essentially ambient values) to give the dark side of the planet some extra depth. In the original O'Neil implementation, the dark side of the planet is essentially pitch black.
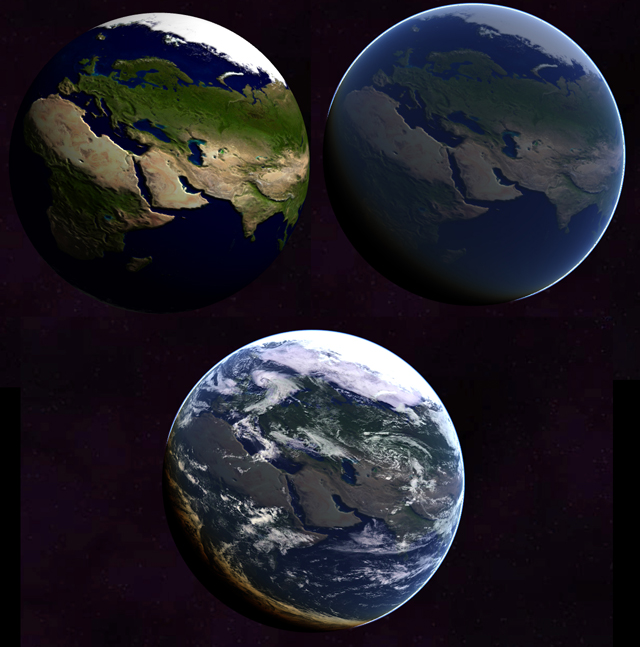
The image below shows how the various effect layers interact, with the first (top-left) just being the normal mapping w/ phong. The second top-right image shows the atmospheric scattering effects added in. And the final bottom image shows all the components put together.
Performance
The shader code is largely experimental and very rough. I haven't made a serious attempt to optimize it, and even so, the shading required is very expensive. In order to get a good quality render the sphere is very large (~50k triangles), but I re-use the same geometry for each pass rather than use three separate spheres. On my computer (Nvidia 9800 GTX+) without Vsync enabled the example renders with 400-500 FPS. The only outstanding issue I have with the shader code is it seems the atmospheric scattering only works when the sphere is centered at the origin, and if you translate the sphere you lose the scattering completely. I think this has to do with the camera heights, but I still have to investigate it.
You can grab the shader source here. Just be warned, it's rough and not really documented. The C# source code will be released with the tesla examples project sometime in the future. That example also shows off some of the cooler features of the engine such as the use of engine-values, pre-shaders (material logic), automatic light management, and material scripting.
Download
You can download the HLSL effect code here. Included is a FXH file containing lighting structures and functions, as well as the textures I used from several free sites. I simply googled "earth texture maps", so there's plenty of good sites out there that may offer better textures than I found.

Video
You can't really say something's real time without at least having a video of it! Here's a youtube video flying around the planet. Jitters due to my unsteady hand.
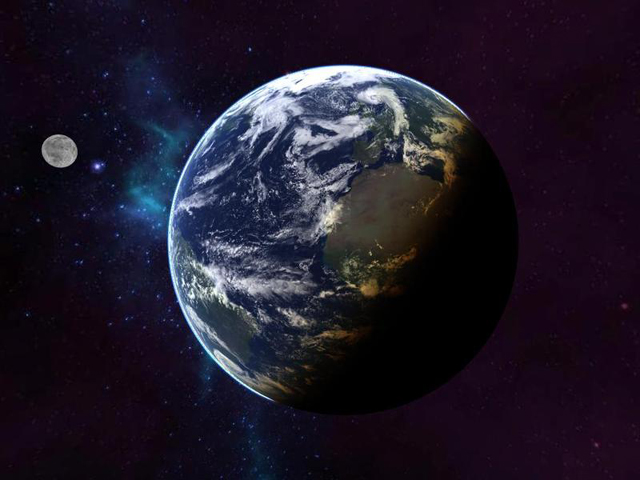
Gallery Images
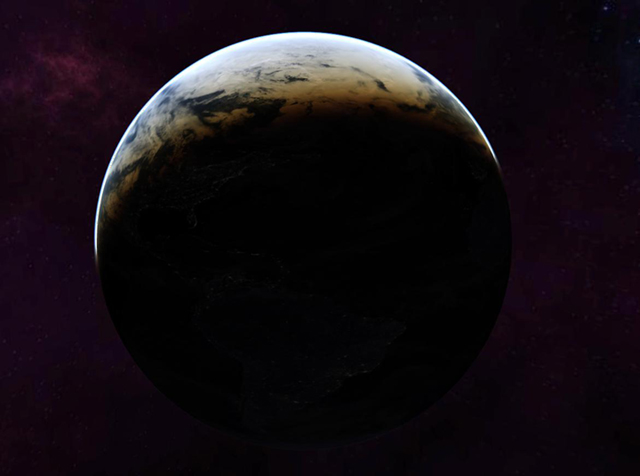
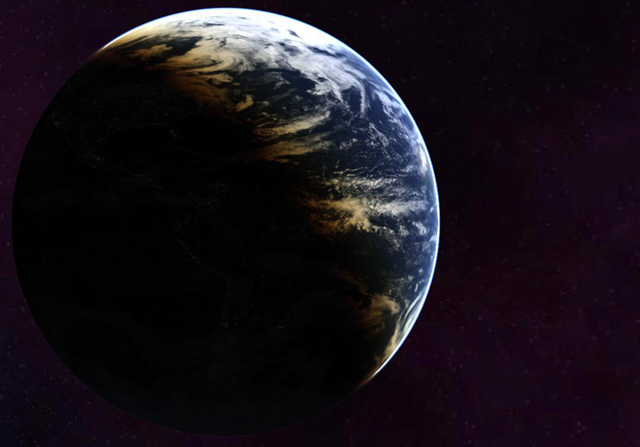
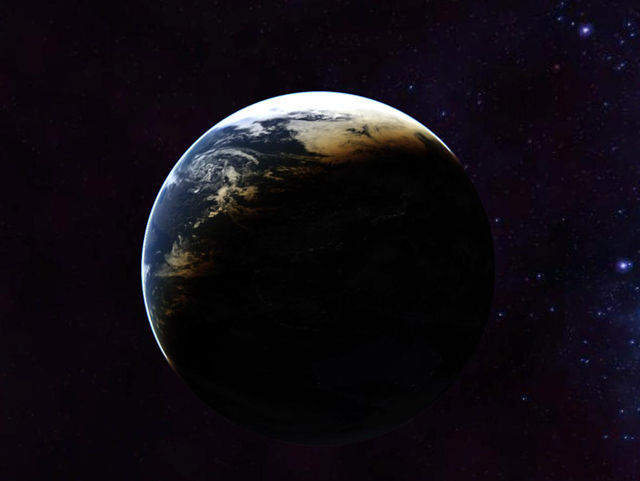
And some more nice views of the earth. Some of these screenshots were taken before I implemented city-lights on the dark side of the planet.
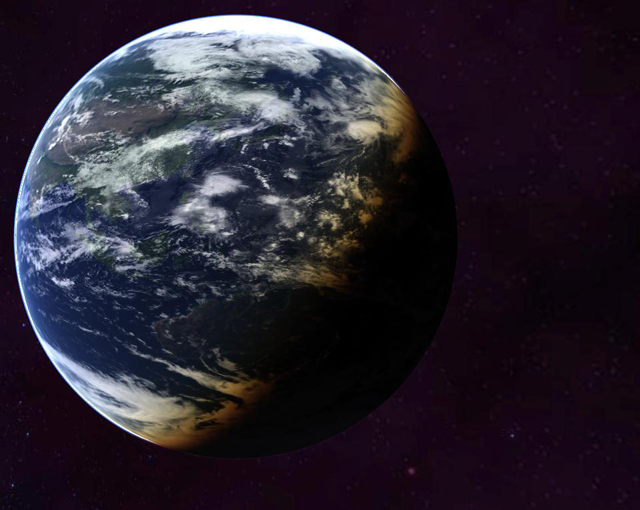
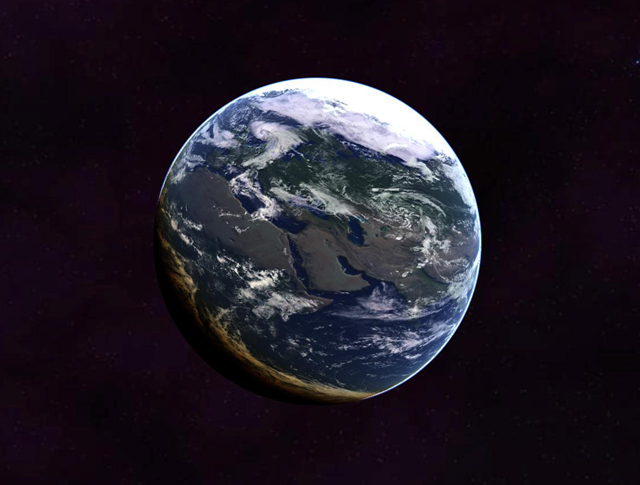
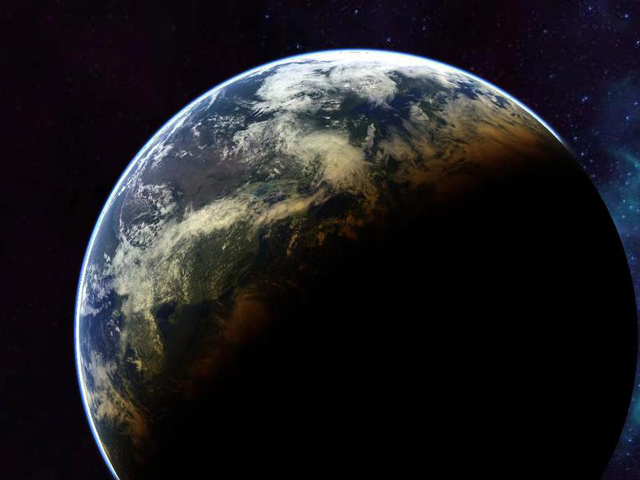
These two images show how the cloud shadows can be tweaked to bring the clouds out a bit more. In most of the images here, the cloud shadows are very subtle, however.


Some examples of the city lights, their intensity can be increased in the shader. However, I liked to keep it very subtle, otherwise it makes the planet look less real. Usually in real images of the earth, you normally do not see anything visible on the dark side because of glare.
Back to Showcase Page